Bypassing AT&T's BWG320 with XGS-PON SFP Module
The Background
After nearly a life long wait, I finally got fiber internet installed a few weeks ago!! AT&T has been slowly building out their network in Los Altos, CA. Maybe ten years ago or so, they began offering fiber in the northern tips of the city. Over the years, I had inquired AT&T multiple times to check in about continued rollout, but no real availability materialized. Flash forward to 2024, and AT&T was going door to door on my street letting us know fiber had been built out and we could have it installed! This was super exciting as I have been wanting to ditch copper for about as long as I had originally learned about fiber in elementary school.
I even already upgraded to a fiber capable router about a year ago as I was hoping some provider would come around soon. Sonic, my favorite ISP in California, had discussed some initial plans for Los Altos, and the Los Altos Hills Community Fiber project considered an expansion to my area of Los Altos. Those other providers have yet to come to fruition, but I wanted to be ready nonetheless!
Previously, I had Comcast Cable service (yuck), which was the best option in my neighborhood until now. Speeds were technically 1200 mbps down and 35 mbps up, but in reality it would be about 600 mbps down and 35 mbps up. The upload matched the specification at least, but it was already dismal to begin with. For a long time, the physical setup looked like:
 Diagram of Comcast COAX and the original Ubiquiti USG.
And then about a year ago, when I purchased the fiber capable UXG-PRO it turned into:  Diagram of Comcast COAX and the Ubiquiti UXG-PRO.
You may notice the added SFP module in the second diagram to convert from Ethernet to a fiber input port of the UXG. I chose to use that since the 10 gig capable port on the UXG is SFP only, and the Comcast service technically supported 1200 mbps, requiring higher than the 1 gbps ethernet port.
With Fiber
Once AT&T installed their fiber (luckily, we had also run a conduit from the MPOE to the server room a few years ago to prepare for fiber), the fiber terminated right next to my server rack in the basement. The type of fiber used for the majority of residential applications is PON (passive optical network), of which AT&T is currently using the XGS-PONG standard. This type of fiber uses an optical network terminal (ONT) at the end of the line (instead of a modem as with COAX), but the two have a similar function, converting the WAN transmission layer 1/2 protocol to Ethernet.
Today, AT&T bundles their ONT with a router into the same device. They call it the BGW-320. And you are “required” to use this with their consumer fiber service. This not ideal for multiple reasons. To start, it is an unnecessary piece of equipment when I already have a much more capable and featured router that supports fiber. Moreover, the BGW-320 does not support a true bridge mode. It always maintains an NAT table and performs masquerade for outgoing packets. If you transfer a lot of traffic, you will run into issues with the NAT table on their AT&T gateway filling up and crashing, causing a reboot, and resulting in the Internet going down few minutes.
The setup looked like this:  Diagram of AT&T Fiber terminating at their BGW-320 connected to the Ubiquiti UXG-PRO.
How do we fix this? Get rid of that AT&T router 😎.
Luckily, the community of network engineers has come up with a solution to do just that with the help of a small Chinese SFP module that can terminate an XGS-PON connection called the WAS-110.
Using the WAS-110 XGS-PON Stick
The remainder of the post will go over how to set up a WAS-110 to bypass AT&T’s BGW-320. This is a summarization of the steps provided by the pon.wiki guide. But it also has additional helpful steps / screenshots!
Check your AT&T fiber is on the XGS-PON standard.
Geographic areas with older AT&T fiber that still use PON based fiber are incompatible with this post / the WAS-110. To check which generation you have, open the “Fiber Status” tab on the AT&T web UI via <192.168.1.254/cgi-bin/fiberstat.ha>. If Wave Length matches 1270 nm then you’re good to go!
Acquire a WAS-110.
There are two main XGS-PON chipsets in XGS-PON SFP+ sticks, the MaxLinear PRX126 (+Azores firmware), and the Cortina XGS-PON. The WAS-110 uses the PRX126 chipset compatible with the firmware we will use. A list of resellers is here.
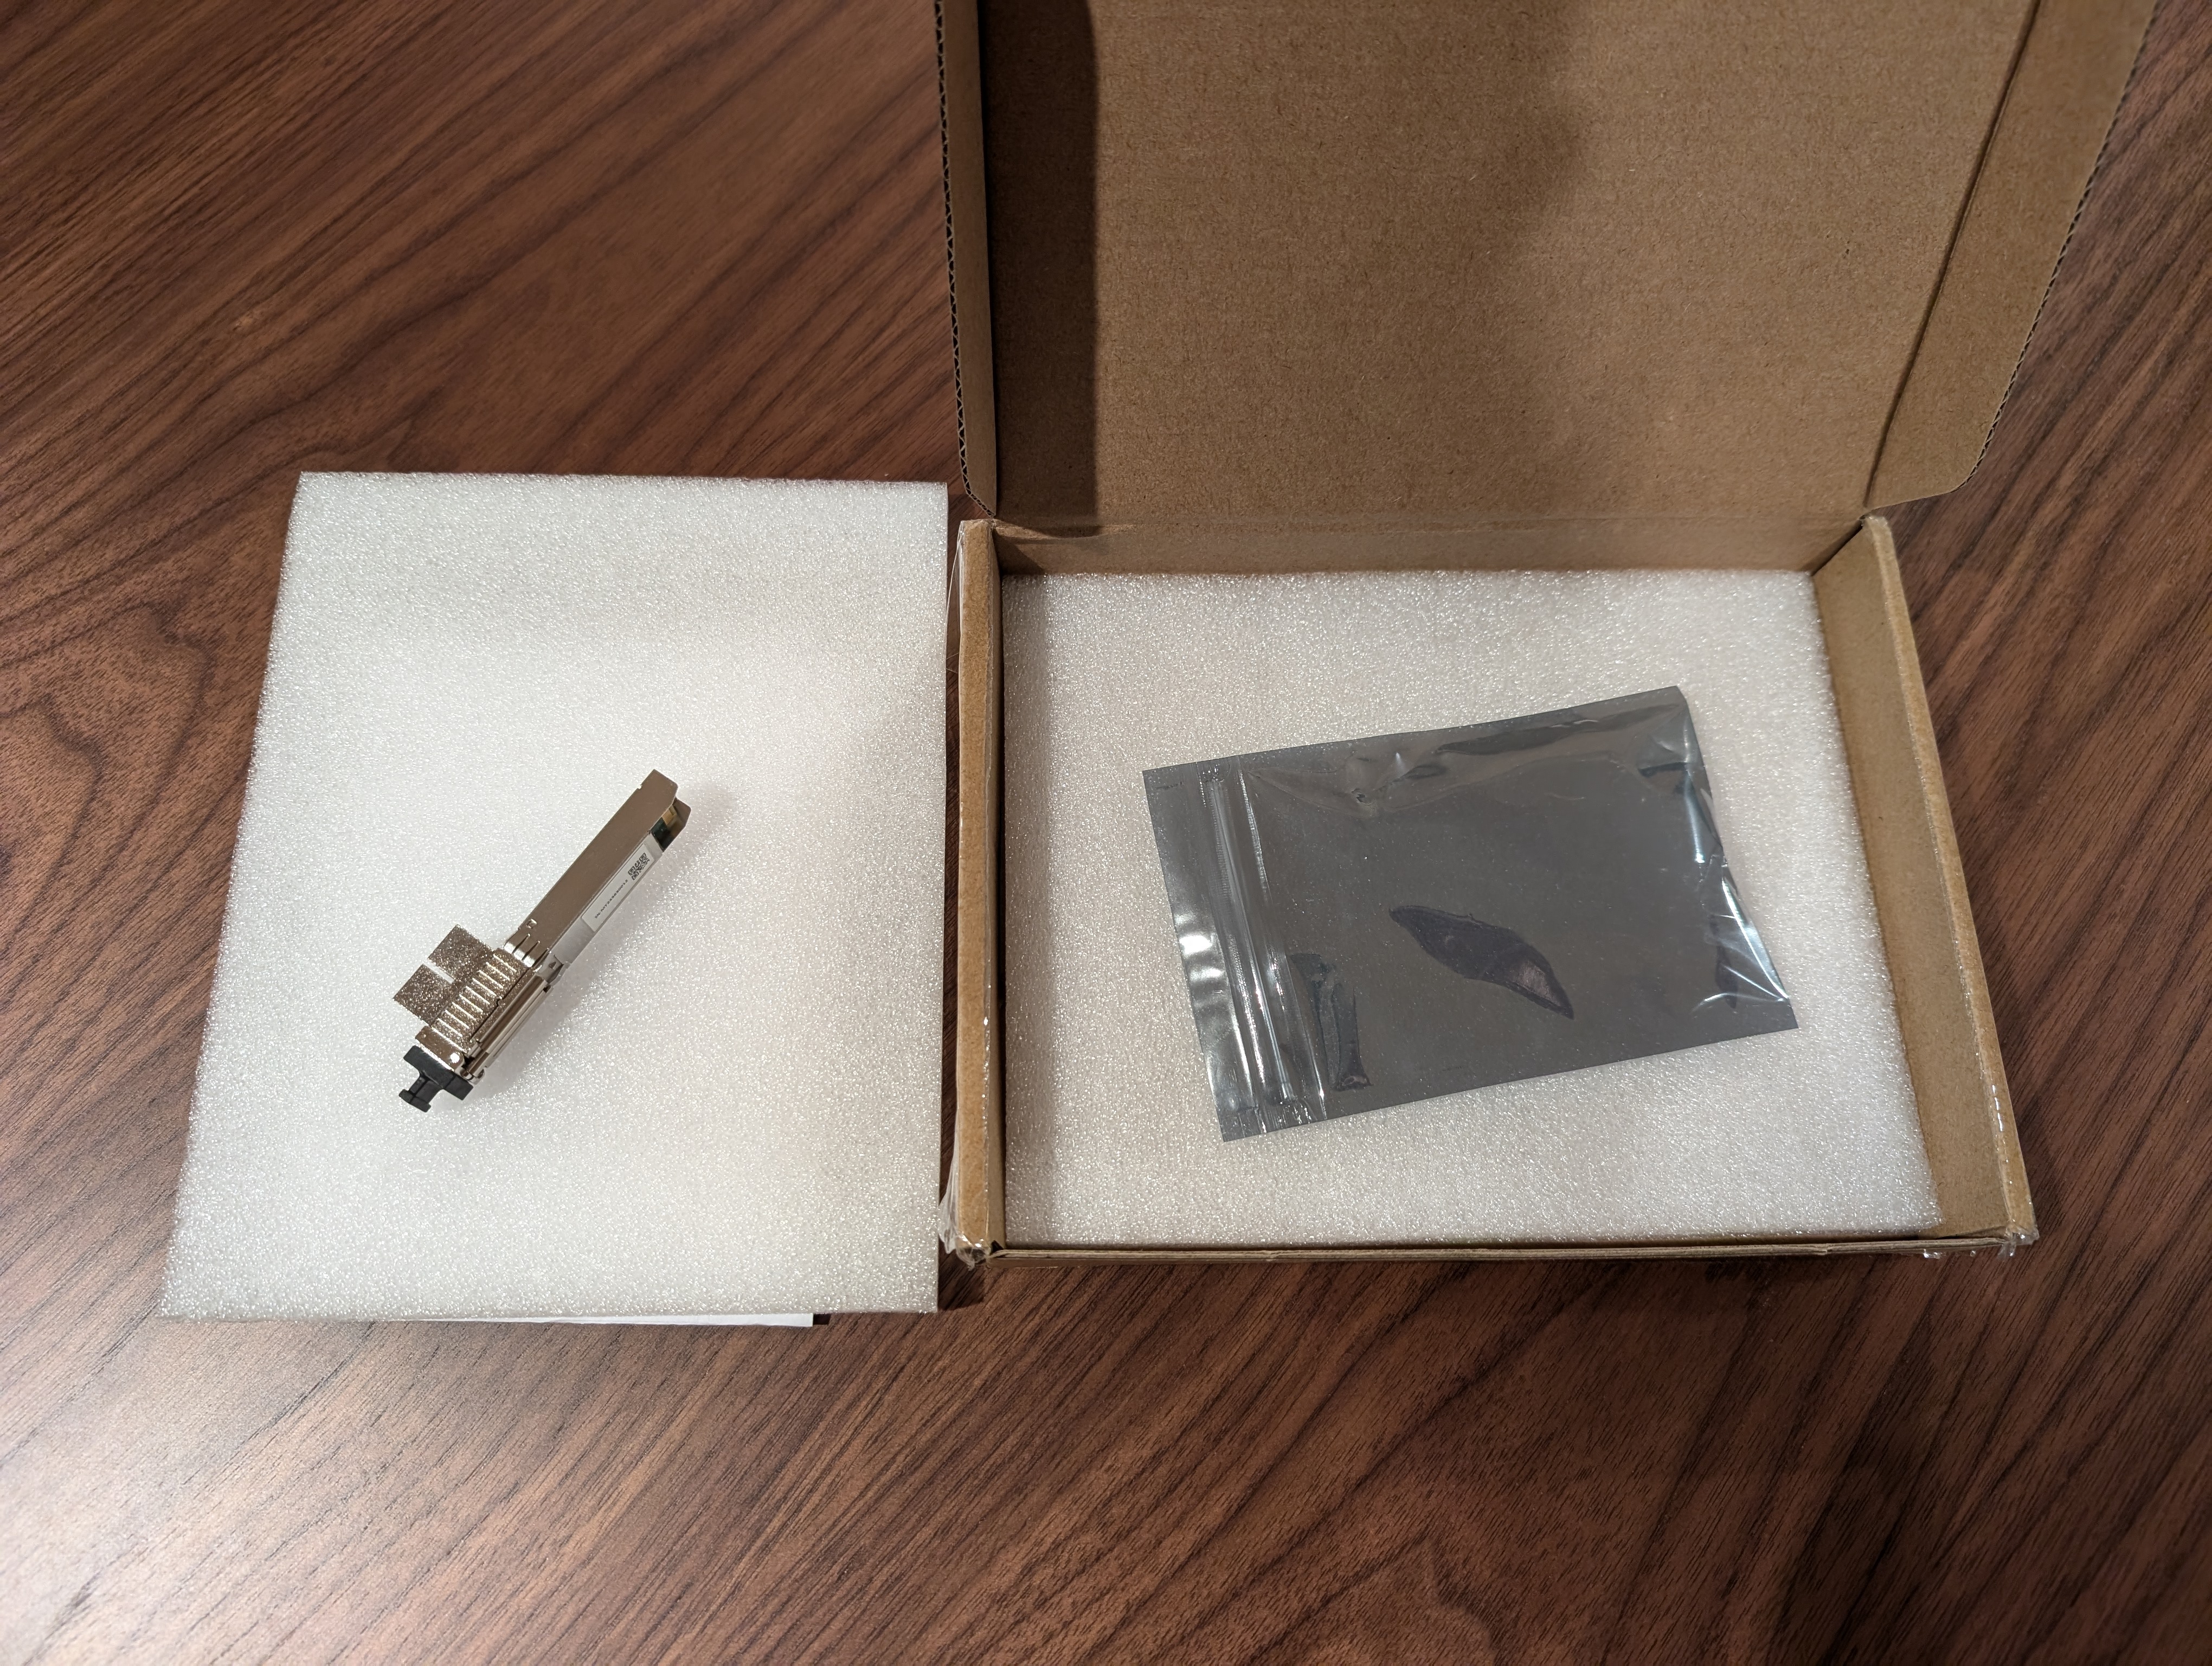 Photo of the WAS-110 XGS-PON Stick.
Install 8311 community firmware.
The 8311 community is an awesome group of industry professionals and enthusiasts with the collective goal of bypassing ISP customer premise equipment. Here’s a link to their discord. They have a community firmware that you can run on the WAS-110 which makes improvements over the manufacturer’s default.
Network Setup
- Download the latest firmware, I recommend the file ending in .7z and then using a tool like 7-Zip to extract it.
- Right click on the file > 7-Zip > Extract Here
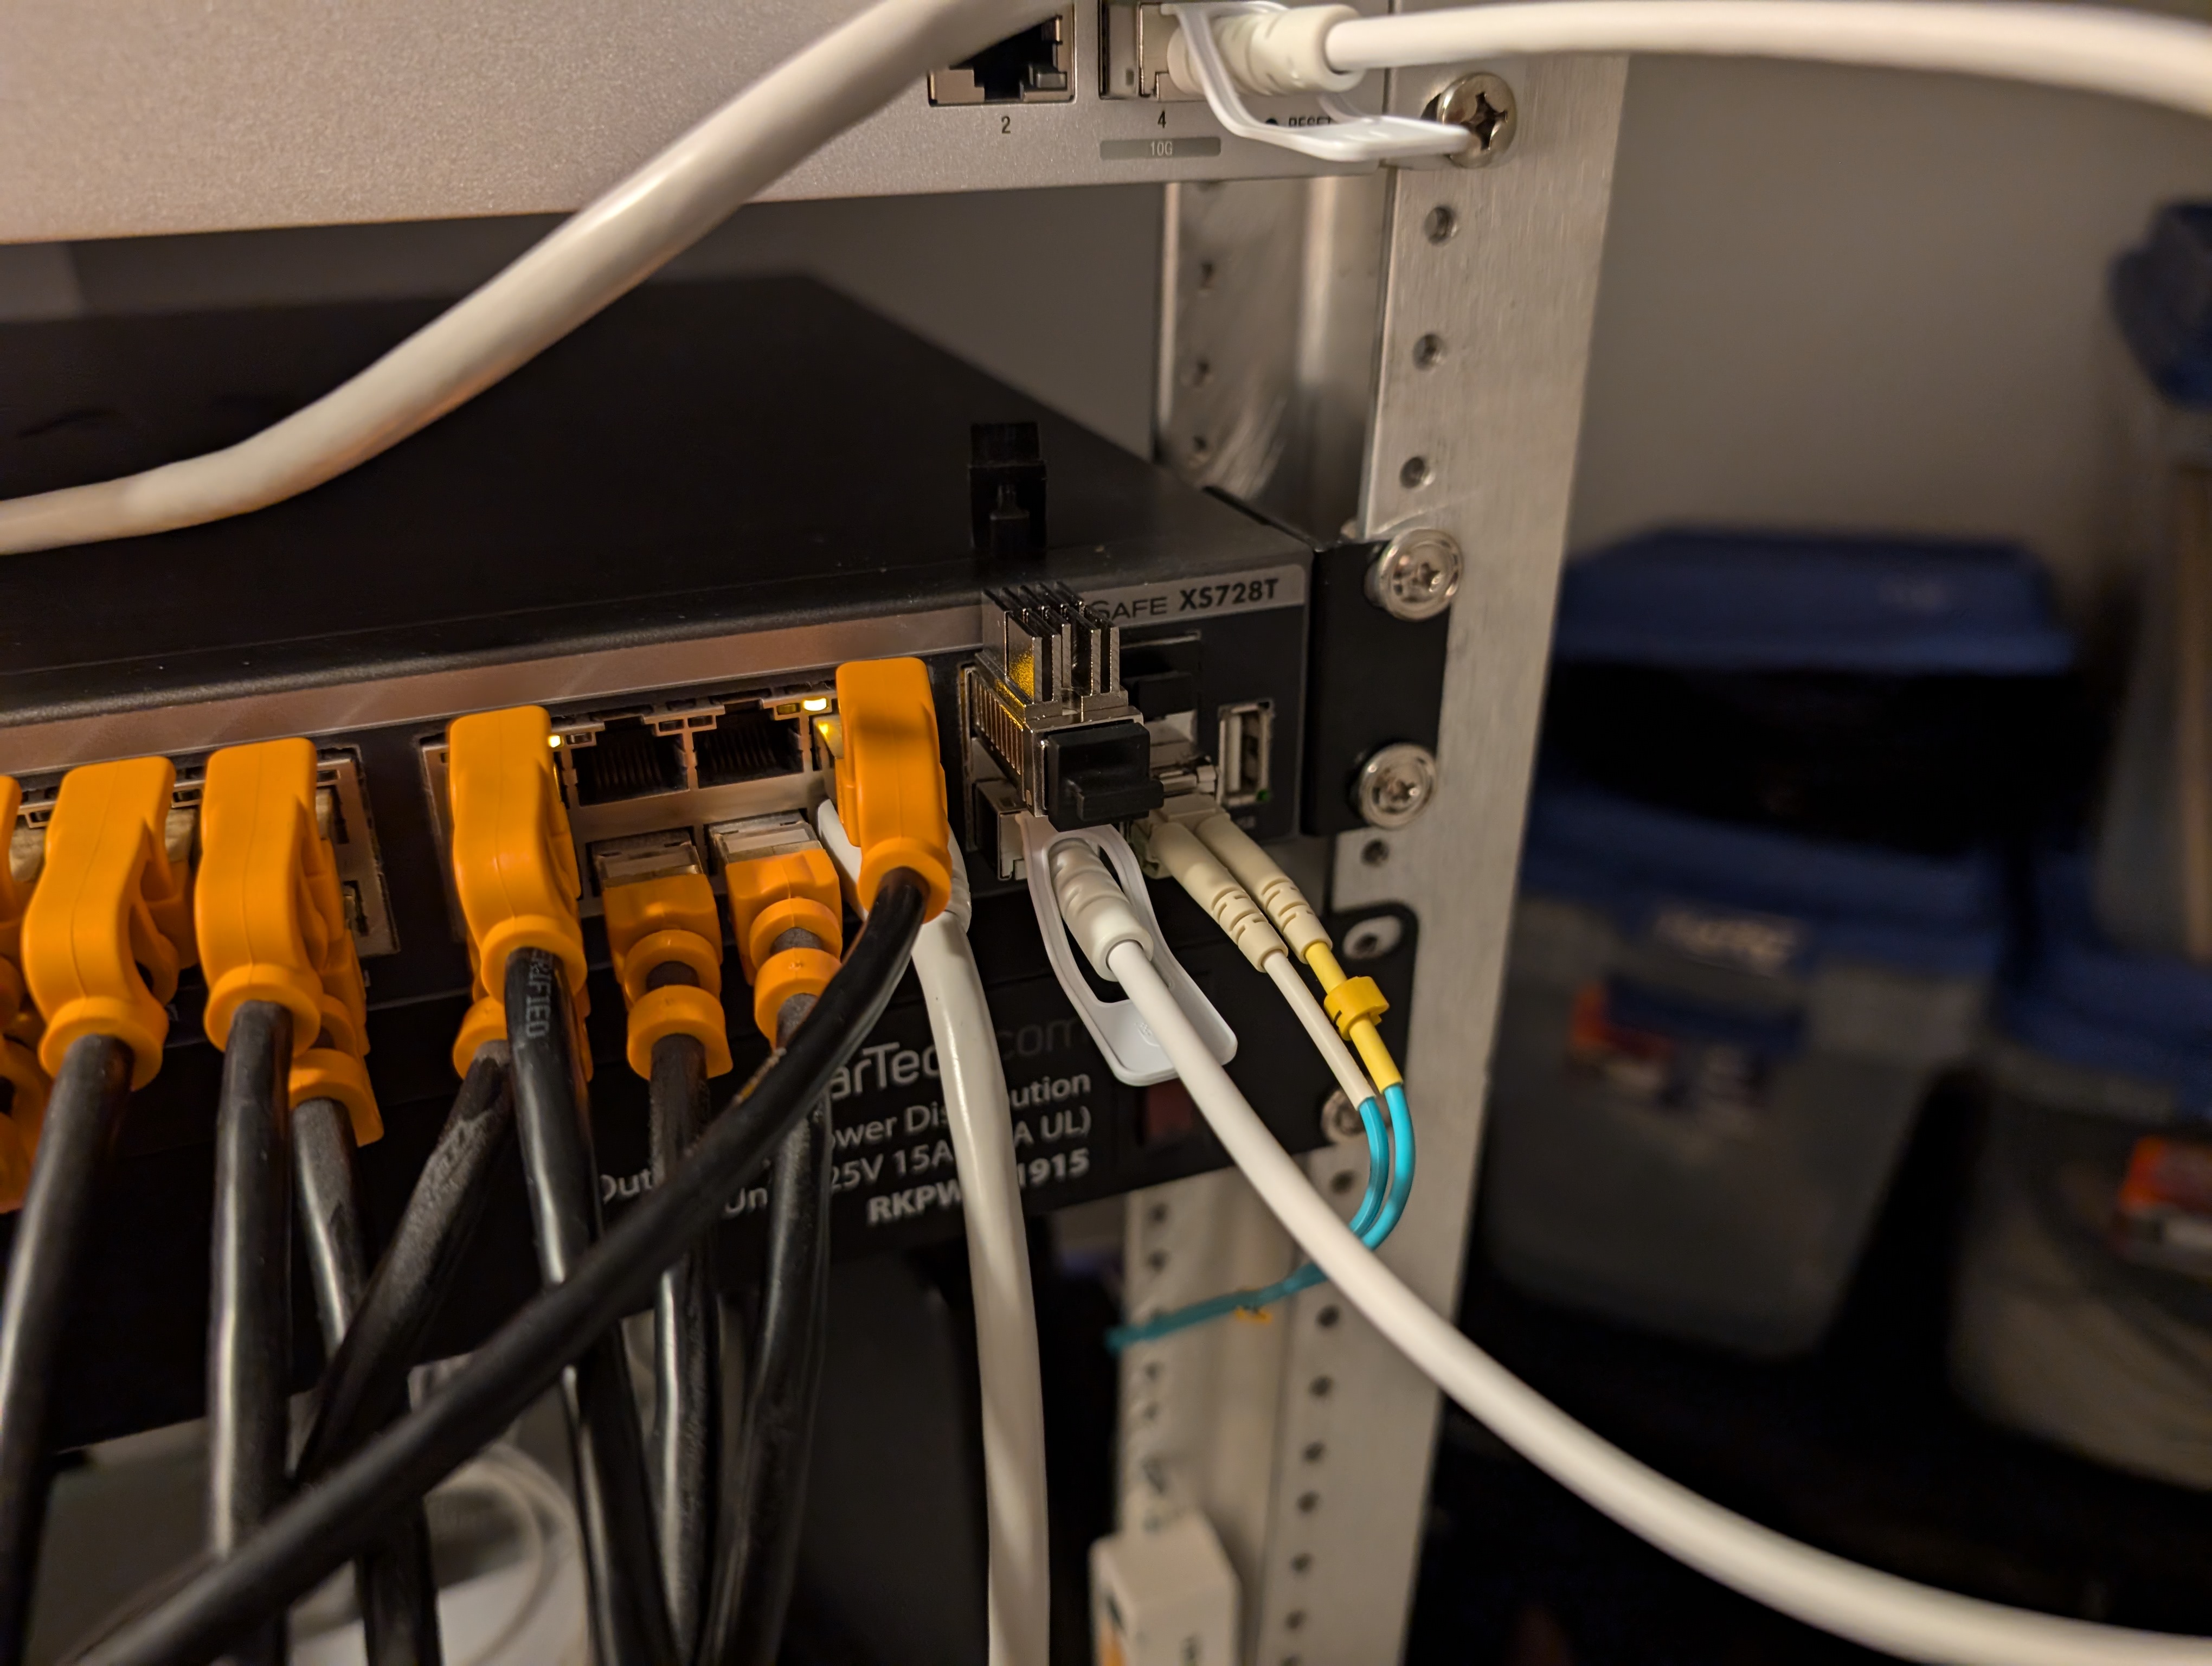
- Plug the WAS-110 into a 10-gigabit capable SFP+ port (either host interface or network switch port). In my case, I plugged it into an XS728T Netgear switch.
- The default IP of the stick with the Azores firmware is
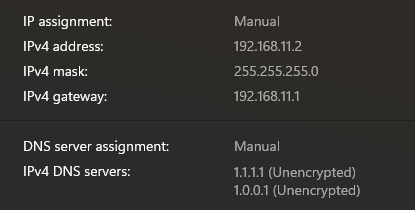
192.168.11.1. The connect, set a manual IP on the interface connected to the switch in the same subnet as the PON stick. I chose192.168.11.2, but you could technically pick anything192.168.11.2 - 192.168.11.255. - You should now be able to connect to the WAS-110 at <192.168.11.1>.
Community Firmware Installation
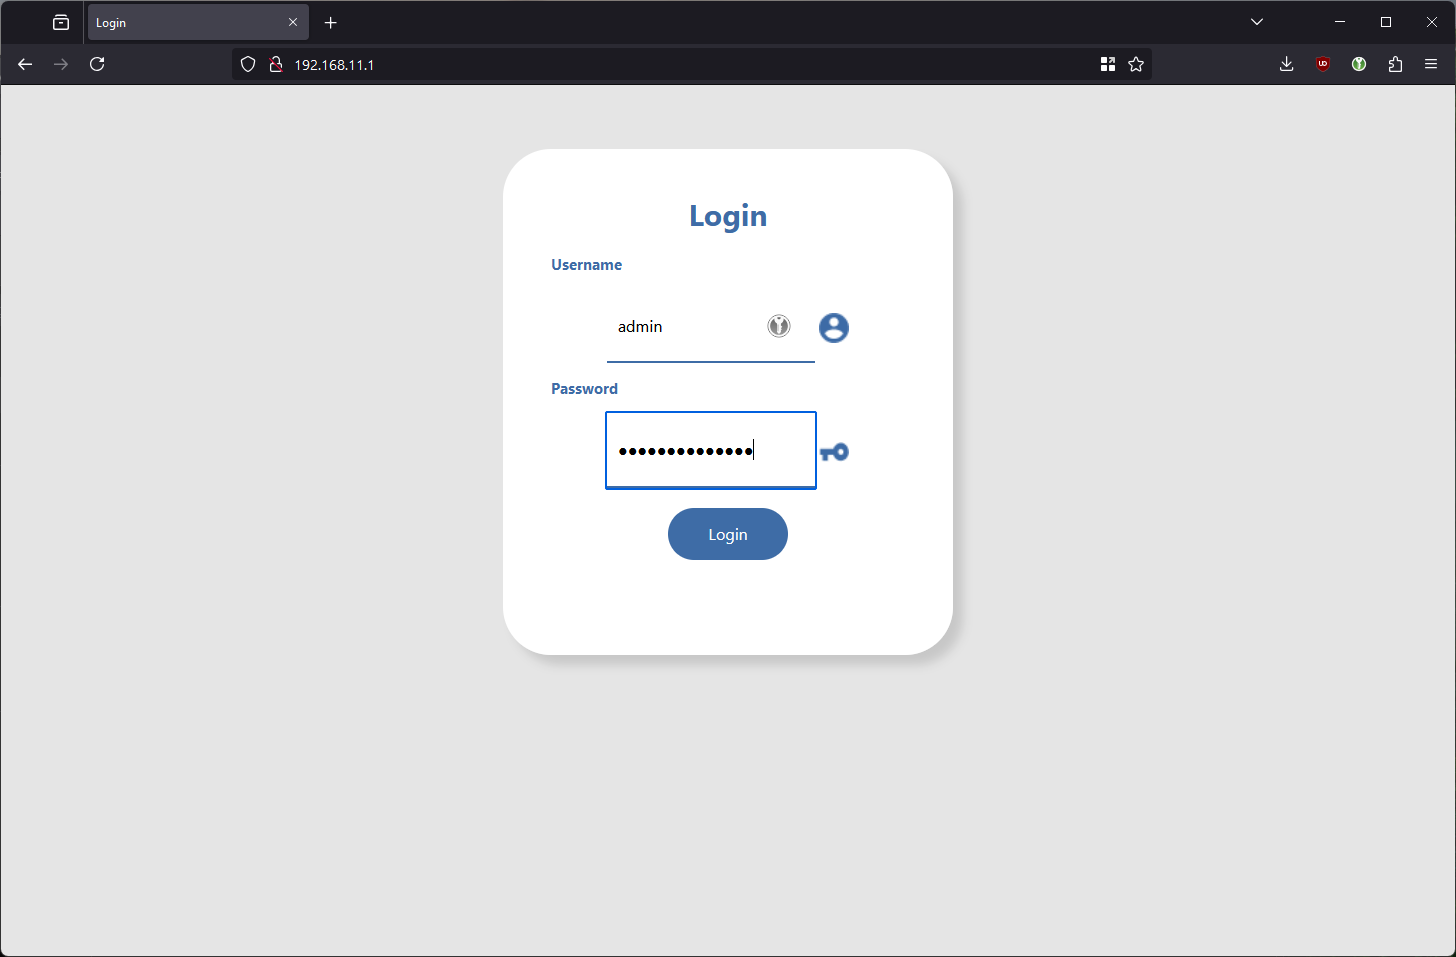
- First, we need to enable SSH on the WAS-110. Navigate to https://192.168.11.1/html/main.html#service/servicecontrol in a web browser and enter the admin web credentials. The user is
adminand the password is eitherBR#22729%635e9if on firmwarev1.0.21orQsCg@7249#5281if on anything earlier. I just tried both, and the second one worked for me. - Once SSH is enabled, we can copy over the new firmware (we will use the tar file for a shell install). From a Power Shell window, navigate to the folder containing the WAS firmware that you downloaded from Github. Run this command to copy. Enter yes to trust the host’s key, and use the
rootshell passwordQpZm@4246#5753when prompted. If you have a stick with firmwarev1.0.21, the password is undisclosed. There is a temporary exploit to use instead detailed here.
1
2
3
4
5
6
7
8
scp -oHostKeyAlgorithms=+ssh-rsa -oPubkeyAcceptedKeyTypes=+ssh-rsa .\local-upgrade.tar root@192.168.11.1:/tmp/
The authenticity of host '192.168.11.1 (192.168.11.1)' can't be established.
RSA key fingerprint is SHA256:g19b3R0DYZBEEoAoZN3qKrLDRUtXvPXtmnwqKezvgZs.
This key is not known by any other names.
Are you sure you want to continue connecting (yes/no/[fingerprint])? [Type yes, enter]
Warning: Permanently added '192.168.11.1' (RSA) to the list of known hosts.
root@192.168.11.1's password:
local-upgrade.tar                                                                     100%   13MB   1.1MB/s   00:12
- Then, use this command to extract and install the firmware. Again, use the
rootpassword.
1
2
3
4
5
6
7
8
9
10
11
12
13
14
15
16
17
18
19
20
21
22
23
24
ssh -oHostKeyAlgorithms=+ssh-rsa -oPubkeyAcceptedKeyTypes=+ssh-rsa root@192.168.11.1 "tar xvf /tmp/local-upgrade.tar -C /tmp/ -- upgrade.sh && /tmp/upgrade.sh -y -r /tmp/local-upgrade.tar"
root@192.168.11.1's password:
upgrade.sh
New Firmware:
Version: v2.7.1
Revision: aa29663
Variant: basic

Validating Kernel image... OK
Validating Bootcore image... OK
Validating RootFS image... OK

Active firmware bank is A, will install to bank B.

Installing Kernel image to kernelB (/dev/ubi0_3)...
Validating installed Kernel image... OK
Installing Bootcore image to bootcoreB (/dev/ubi0_4)...
Validating installed Bootcore image... OK
Installing RootFS image to rootfsB (/dev/ubi0_5)...
Validating installed RootFS image... OK

Set commit_bank to B, reboot to boot new firmware.

Rebooting...
- Since the WAS-110 uses an A/B boot partition design, it’s a good idea to perform the firmware update a second time to flash the other partition. Rerun the second command from above again. Note that the host key will have changed, so you should see a message along the lines of:
1
2
3
4
5
6
7
8
9
10
11
12
13
@@@@@@@@@@@@@@@@@@@@@@@@@@@@@@@@@@@@@@@@@@@@@@@@@@@@@@@@@@@
@    WARNING: REMOTE HOST IDENTIFICATION HAS CHANGED!     @
@@@@@@@@@@@@@@@@@@@@@@@@@@@@@@@@@@@@@@@@@@@@@@@@@@@@@@@@@@@
IT IS POSSIBLE THAT SOMEONE IS DOING SOMETHING NASTY!
Someone could be eavesdropping on you right now (man-in-the-middle attack)!
It is also possible that a host key has just been changed.
The fingerprint for the RSA key sent by the remote host is
SHA256:j5fAkeNel17eu03XtRG0gkzUD6cOW4Dz0w8r3JaC7Fs.
Please contact your system administrator.
Add correct host key in C:\\Users\\mthei/.ssh/known_hosts to get rid of this message.
Offending RSA key in C:\\Users\\mthei/.ssh/known_hosts:49
Host key for 192.168.11.1 has changed and you have requested strict checking.
Host key verification failed.
- Simply remove the old host from your local machine’s record with:
1
ssh-keygen -R 192.168.11.1
- In the future, feel free to use the web UI to update the firmware since the community firmware has a safe update mechanism integrated with the UI.
WAS-110 Configuration.
- As a prerequisite, note down the the ONT ID of your AT&T BGW320. If it begins with HUMA, it is a BGW320-500, and if it begins with NOKA, it is a BGW320-505 (they are functionally the same, just two different manufacturers).
- Navigate to the web UI,
httpsis supported. - Upon the initial boot, the UI should ask you to set your root password.
- Navigate to 8311 > Configuration.
- Populate the following values (everything else can remain as default):
- PON Serial Number (ONT ID)
- Equipment ID (
iONT320500Gfor 500,iONT320505Gfor 505) - Hardware Version (
BGW320-500_2.1for 500,BGW320-505_2.2for 505) - Sync Circuit Pack Version (checked)
- Software Version A (
BGW320_4.27.7) you can get the latest version of your BGW320 from the device status page. - Software Version B (
BGW320_4.27.7) - MIB File (
/etc/mibs/prx300_1U.ini)
- Click Save.
- On the ISP Configuration tab, enable Fix VLANs from teh drop down.
- Click save, and reboot!
Upon reboot, the fiber fable can be safely plugged into the WAS-110 and used for operation!
Here is what the final diagram looks like of the network setup. Much simpler and straight forward!
Here’s a screenshot of my speeds via the WAS-110 (I signed up for gigabit service) to verify the performance. 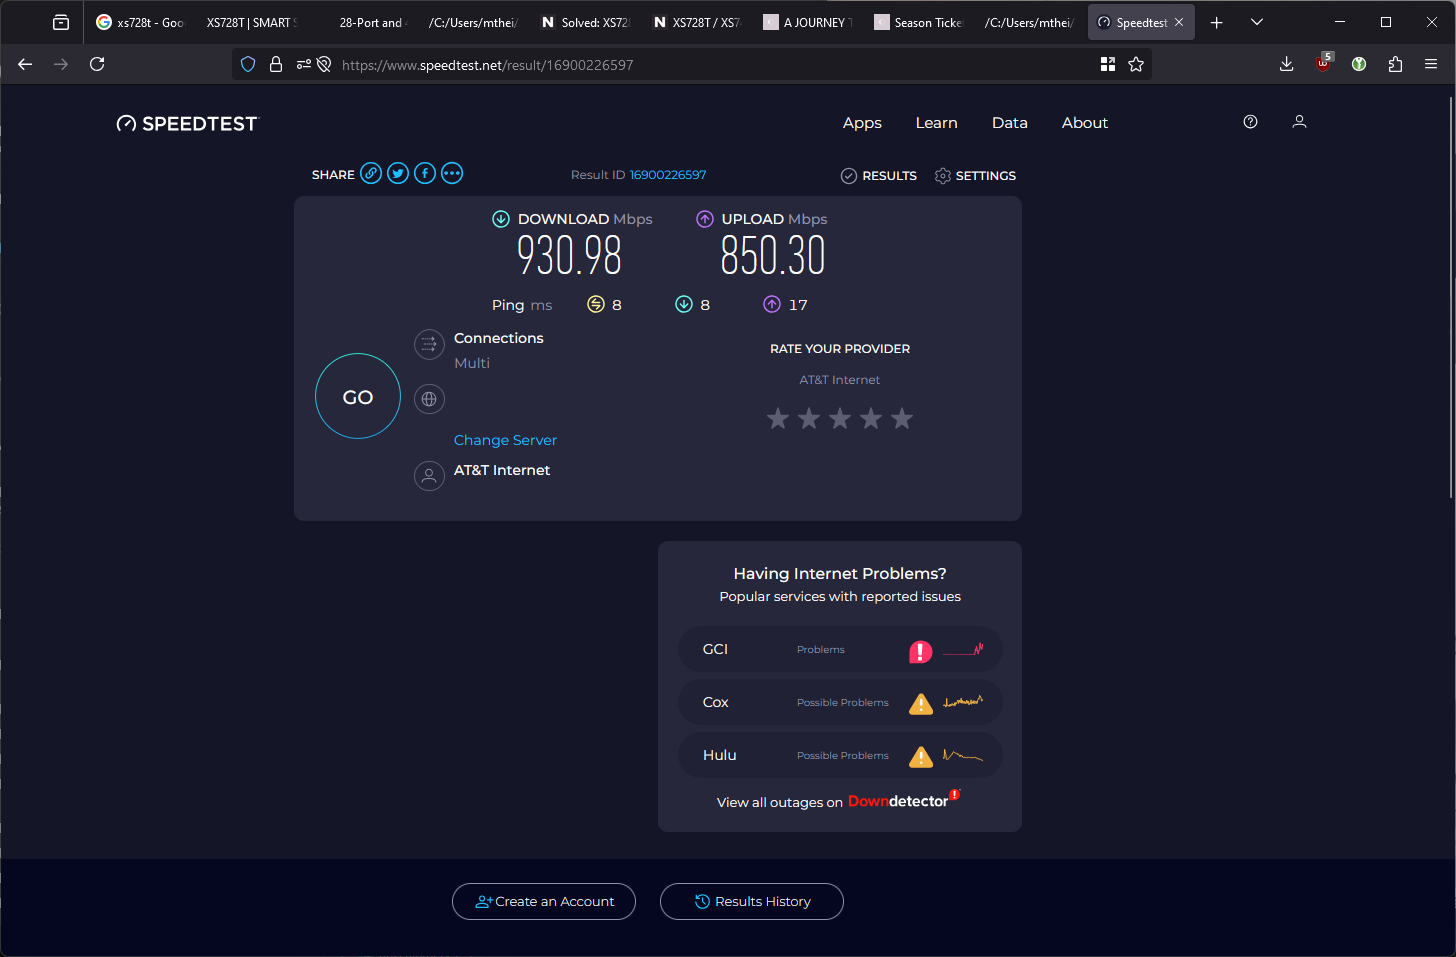
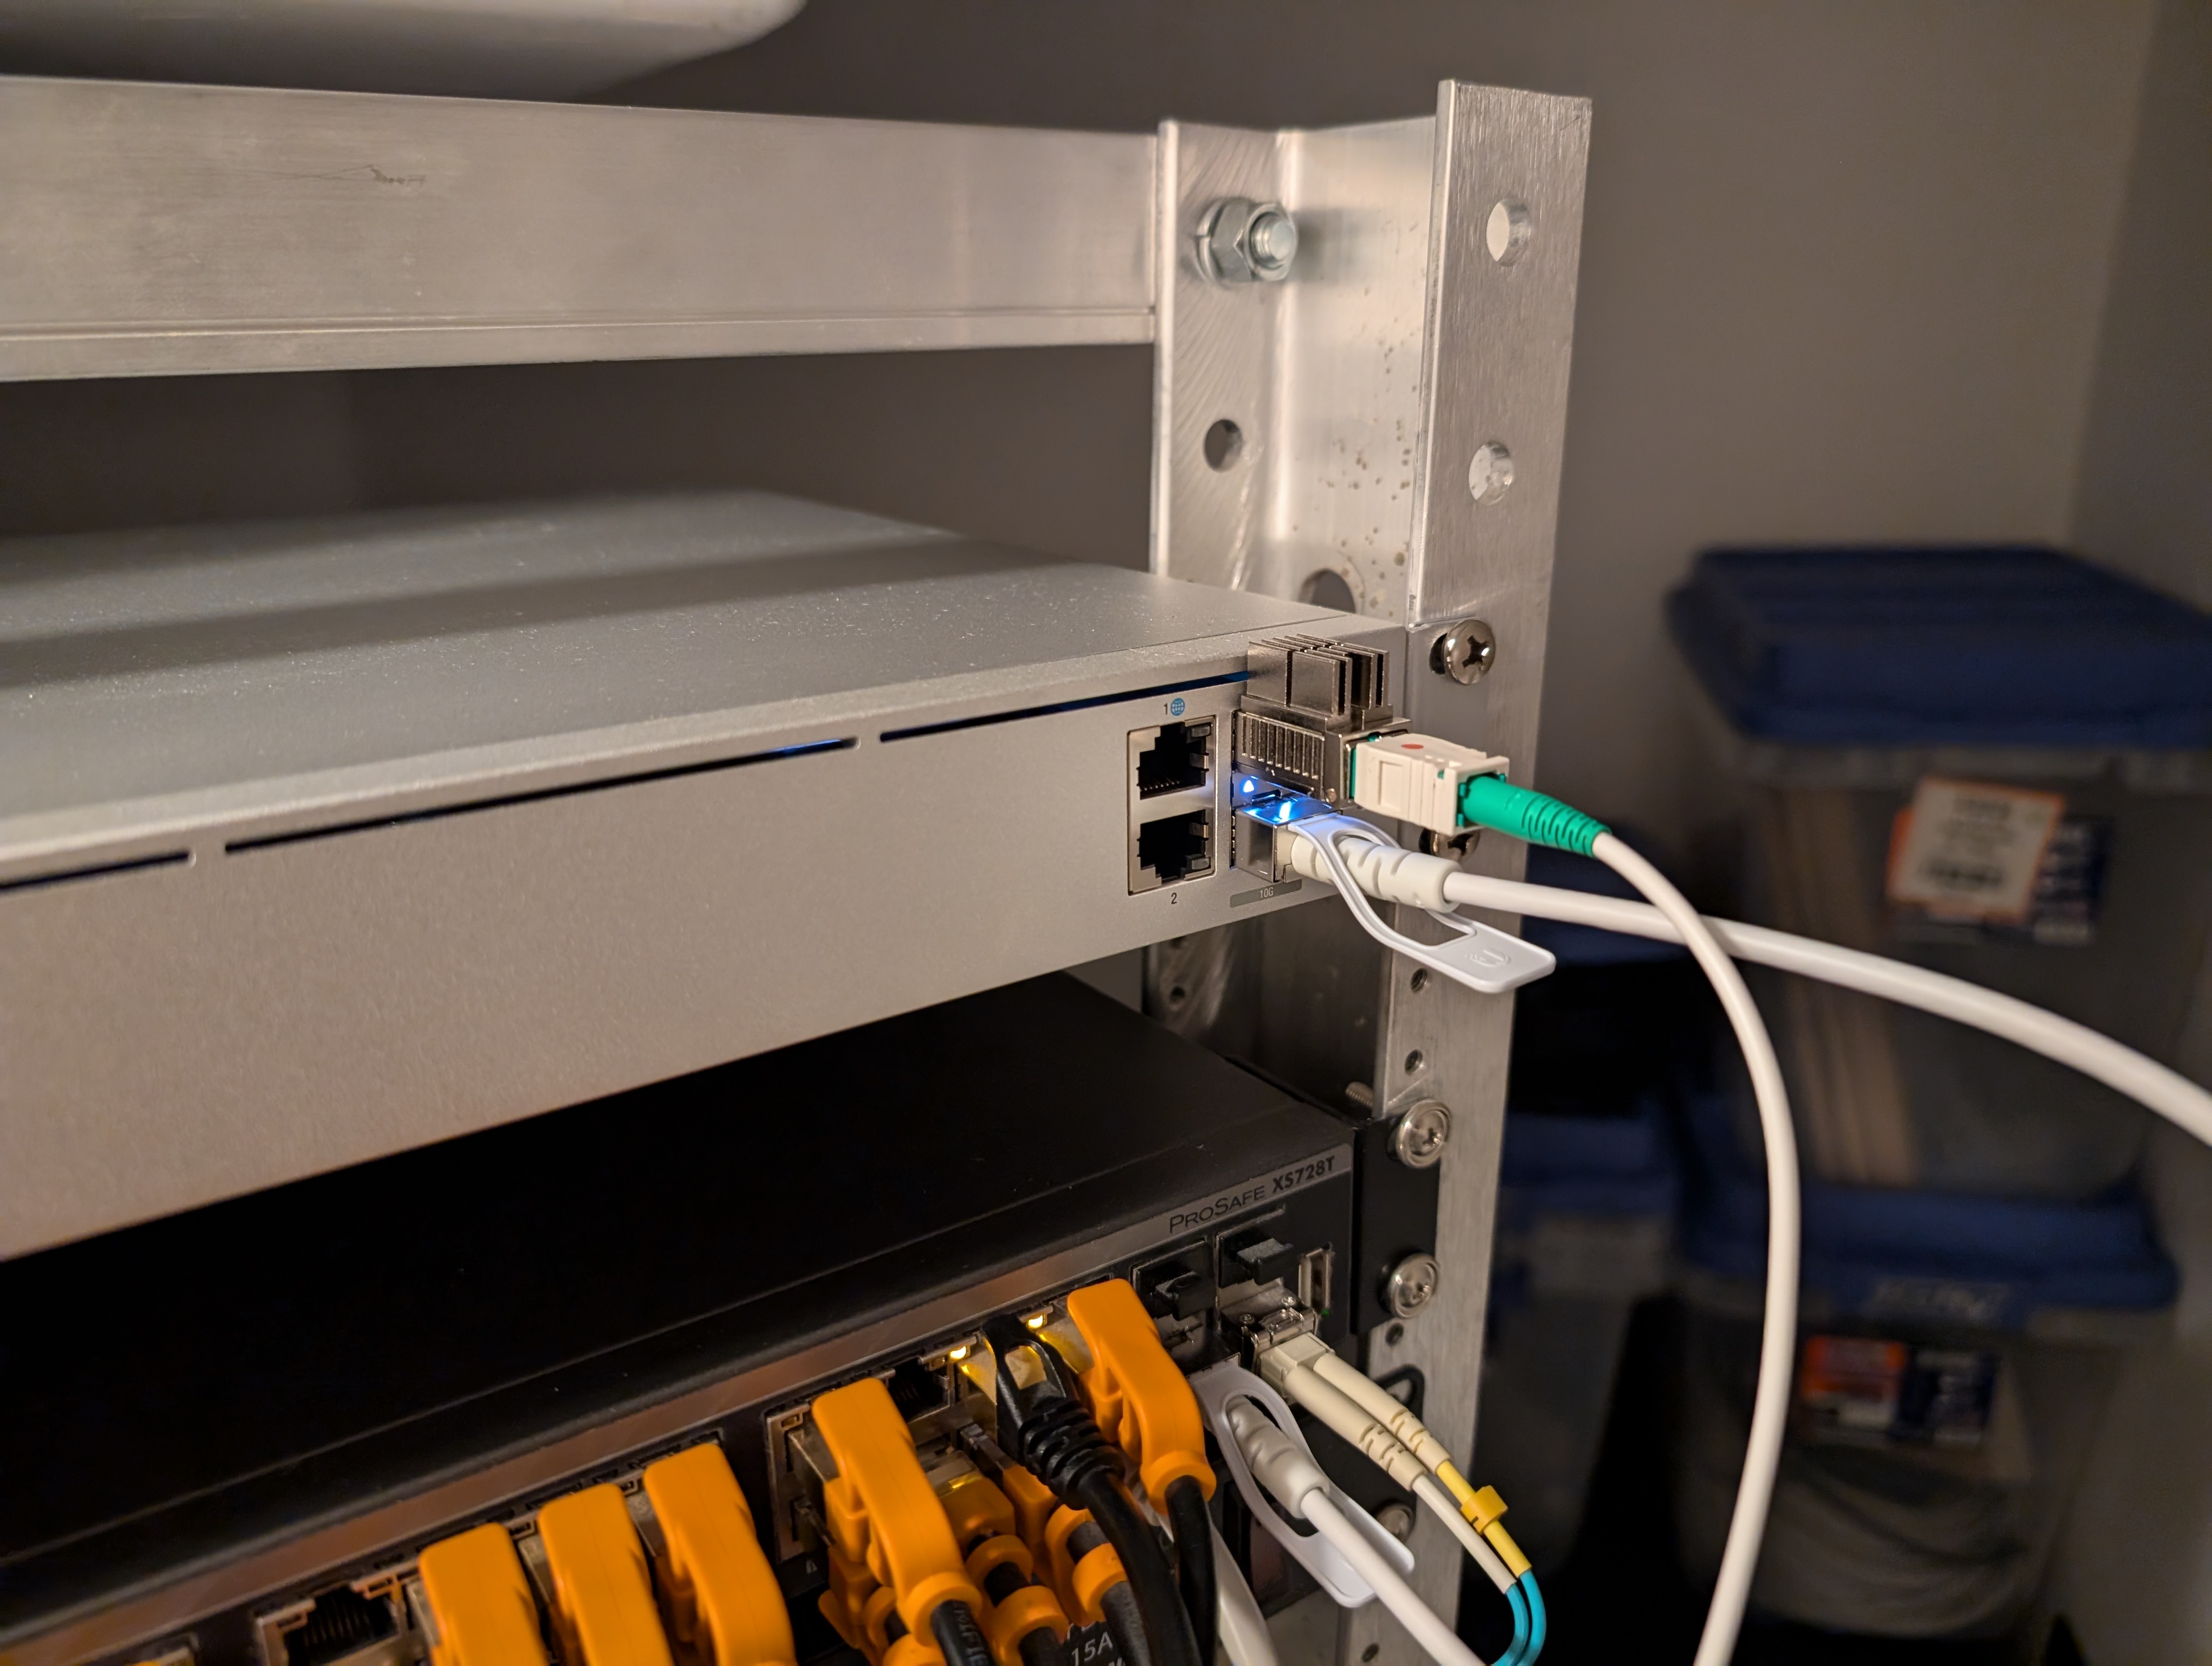
And more importantly, the fiber itself plugged directly into the gateway!
Lastly, huge shout out again to the 8311 community for their work making this possible. The official documentation for this process is here!
